
How to convert a scanned document into editable text for free
Converting a scanned document into editable text might seem like rocket science at first. You have a PDF or image file that looks like a regular paper scan, and now you want to turn it into text you can edit, search, or copy without retyping everything. Luckily, with today’s technology, this is easier — and cheaper — than ever. In this article, I’ll walk you through how to convert scanned documents into editable text, all using free tools. No paid subscriptions, no fancy software, just smart, practical ways you can do it yourself.
What Is a Scanned Document?
A scanned document is essentially a digital replica of a physical page. When you use a scanner or even a mobile phone camera to capture a document, what you’re really creating is an image file — much like a photograph. This image contains everything that was on the original page: text, graphics, signatures, stamps, or even smudges and wrinkles. However, unlike a document created directly on a computer, this scanned version is not made of actual characters or words your device can recognize. It’s just pixels arranged to look like text to the human eye.
This distinction is important because, while you can open and view a scanned document easily, especially in formats like JPEG or PDF, you can’t interact with the text. Try copying and pasting from a scanned image — nothing happens. That’s because the computer treats it like a picture, not a text file. This becomes a problem when you need to edit, search, or extract information from that document. You can’t make quick changes or use simple keyboard commands to find specific words unless the content is in a machine-readable format.
That’s where OCR — Optical Character Recognition — steps in. OCR is a technology that analyzes the shapes and patterns of the text in an image and converts them into actual characters your computer can understand. It’s like teaching your computer how to “read” the words it sees in the picture. OCR software goes line by line, letter by letter, to identify fonts, spacing, and structures in order to rebuild the text as editable content. It bridges the gap between visual data and usable digital text.
Scanned documents are widely used in legal, medical, academic, and business environments because they offer a way to preserve and share paper documents digitally. But their usefulness multiplies once they’re converted into editable formats. That’s why understanding what a scanned document really is — and why it’s fundamentally different from a digital text file — is the first step in knowing how to work with them effectively.
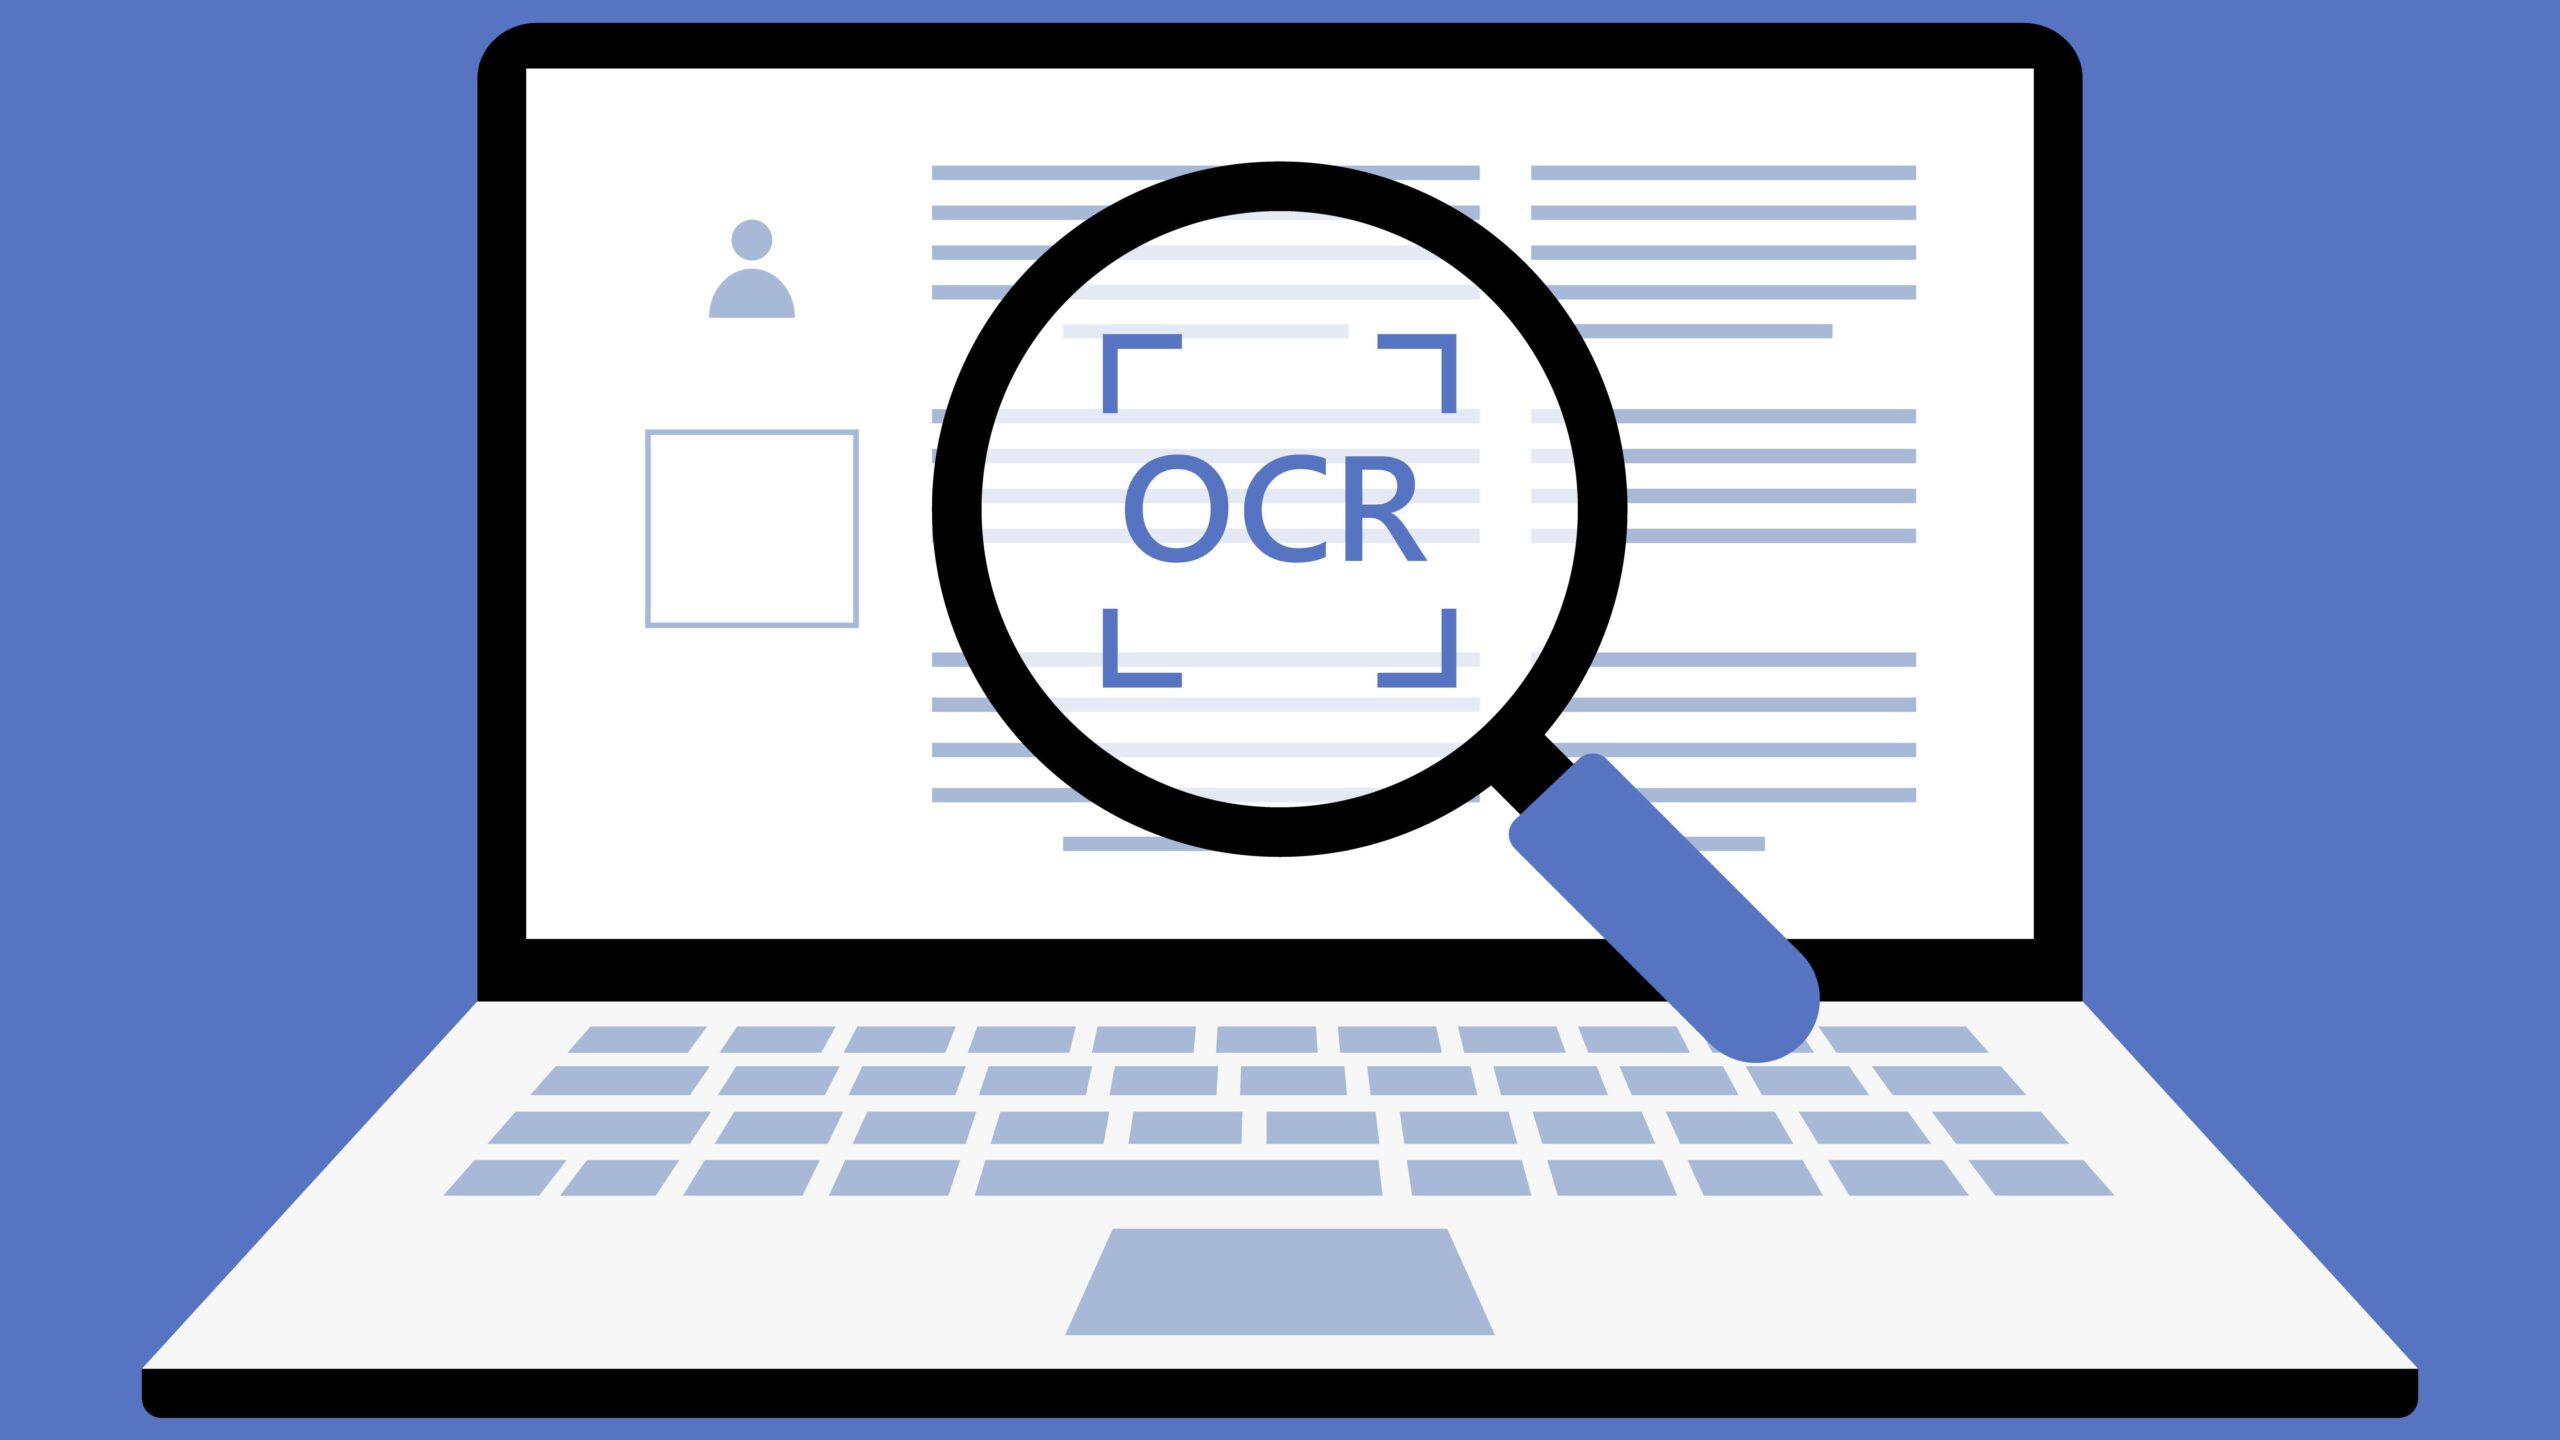
What is OCR and Why Is It Important?
| Aspect | Description | Benefits | Common Use Cases | Tools That Support It |
| What OCR Does | Converts images of printed or handwritten text into machine-readable text | Enables text editing, searching, and data extraction | Digitizing books, forms, receipts, ID documents | Adobe Acrobat, Tesseract, Google Drive OCR |
| How It Works | Uses pattern recognition and AI to identify letter shapes in image files | Improves document accuracy and saves time | Extracting content from scanned PDFs or photos | ABBYY FineReader, Microsoft OneNote |
| Importance of OCR | Transforms flat scans into interactive documents | Makes archives searchable, reduces manual retyping | Office digitization, legal document searchability | OnlineOCR, PDF24 Tools |
| Without OCR | Scanned documents remain static and non-editable | Limits usability, no copy/paste or keyword search | Storing documents just as visual references | Image-only PDFs, JPEGs |
| With OCR | Documents become editable, searchable, and indexable | Boosts productivity, enhances accessibility | Editing contracts, organizing archives, improving workflows | Google Docs, CamScanner |
Prepare Your Scanned Document
Before jumping into the conversion process, it’s absolutely essential to get your scanned document in top shape. Think of it like cleaning your room before inviting guests over — the better the condition, the smoother the experience. OCR software is smart, but it’s not a mind reader. If your scanned image is blurry, dark, skewed, or cluttered, even the best OCR engine will struggle to recognize characters correctly. That means more errors, more corrections, and more frustration for you. So, let’s walk through a comprehensive checklist to properly prepare your scanned document for OCR conversion:
- Use High Resolution
Always scan your document at a minimum of 300 DPI (dots per inch). This ensures that the text is crisp and the individual letters are clearly distinguishable. Low-resolution images tend to create fuzzy or pixelated text that’s hard for OCR software to interpret. - Scan in Grayscale or Black & White
Color isn’t necessary unless your document includes colored elements that matter. Grayscale or black and white scanning enhances contrast, which helps OCR software differentiate letters from the background. - Ensure Good Lighting and Contrast
If you’re using a smartphone or camera instead of a flatbed scanner, make sure there’s enough lighting. Avoid shadows or glares that may obscure text. Bright, even lighting is ideal for capturing clean images. - Use a Flat Surface
Place the document on a completely flat surface when scanning or photographing. Curved pages (like those in a book) or creased paper can distort the text, making it harder to read. - Avoid Blurry Photos
Hold the camera steady or use a tripod to prevent motion blur. A shaky hand can turn a perfectly good document into a blurry mess that OCR can’t process. - Align the Document Properly
Make sure the document is straight. Skewed or tilted scans make it harder for OCR to align text lines correctly, often resulting in garbled or misplaced words. - Crop Out Unnecessary Borders
Remove blank spaces, edges, table shadows, or binding from the scan. OCR software works best when it focuses solely on the relevant text content. - Clean the Document Physically
If you’re scanning an old or dusty document, gently clean it beforehand. Dirt, ink smudges, and stains can confuse OCR software into misreading characters. - Check for Handwritten Additions
If your scanned page includes both printed and handwritten text, know that most OCR tools struggle with handwriting. You may need specialized OCR tools or be prepared to manually edit those sections later. - Organize Multi-Page Documents
If you’re scanning a multi-page file (like a legal agreement or a textbook), scan the pages in order and name them clearly. Combine them into one PDF or arrange them properly before running OCR.
Choose the Right Free OCR Tool
When you’re ready to convert your scanned pages into editable text, selecting the right free OCR tool can make all the difference. There’s a sprawling landscape of options—from cloud-based services to desktop applications—each promising accurate recognition, speedy conversions, and intuitive interfaces. Your ideal choice will hinge on several factors: the types of files you need to process, whether you want a simple web-based solution or a more robust offline application, and if you require batch processing capabilities or integration with other software you already use. Before you dive in, take a moment to think about how often you’ll need OCR, what kind of document quality you’re dealing with, and whether you mind signing up for yet another online account.
Ease of use is often the first criterion people consider, especially if you’re not a tech expert. Google Drive’s built-in OCR is a fantastic starting point: drag your PDF or image into your Drive folder, right-click and open it as a Google Doc, and voilà—editable text appears beneath the original scan. No extra downloads, no confusing menus, and best of all, it’s entirely free as long as you have a Google account. However, if you need to work offline or prefer desktop software, Microsoft OneNote offers a solid alternative. By inserting an image into a note, you can instantly copy and paste recognized text, and OneNote’s integration with the rest of the Office suite can streamline your workflow. The trade-off is that you’ll need to install the Office package or use the OneNote app, which may not appeal to everyone.
For quick, one-off conversions without any sign-up, online OCR websites like OnlineOCR.net or OCR.space can save the day. You simply upload your scanned file—PDF, JPG, BMP, or TIFF—select your output format, and download the results in seconds. While these platforms are incredibly convenient, they often impose daily or page limits on free users, and you’re uploading your documents to a third-party server, which raises potential privacy concerns. On the mobile front, apps like Adobe Scan and Microsoft Office Lens add value by automatically cropping, correcting perspective, and enhancing image quality before performing OCR right on your smartphone. They’re perfect for on-the-go scans, but they require that you shoot clear, well-lit photos and have enough storage on your device.
If you’re looking for something more customizable and don’t mind a learning curve, open-source engines like Tesseract offer powerful OCR under the hood. Developers and advanced users can integrate Tesseract into automated scripts or use graphical front-ends for batch processing large volumes of documents. This flexibility comes at the cost of a steeper setup process and a less polished user interface compared to commercial products. Ultimately, the “right” tool is the one that meets your specific needs: whether that’s seamless cloud integration, offline reliability, mobile convenience, or total customization. Try a small test run with a couple of different solutions, compare the accuracy and formatting results, and you’ll quickly discover which free OCR tool fits your workflow like a glove.
Using Google Drive to Convert Scanned Documents
| Step | Action Description | Requirements | Advantages | Limitations |
| Upload Document | Drag and drop your scanned image or PDF into your Google Drive | Google Account, Internet Access | Easy to upload from any device | Large files may take time to upload |
| Open with Google Docs | Right-click the file and choose “Open with > Google Docs” | File must be image/PDF format | Automatically launches conversion without software install | Formatting might be inconsistent |
| OCR and Display | Google Docs displays the scanned image at the top and extracted text below | Clear, high-quality scan | OCR is fairly accurate for typed documents | Handwritten or blurry text may not convert properly |
| Edit and Format | You can now edit the extracted text like any regular Google Doc | Basic text-editing knowledge | Allows real-time collaboration and sharing | Needs manual formatting for complex layouts |
| Save or Export | Save your file or download as DOCX, PDF, or TXT | Any device with Drive access | Flexible output options, works in browser | Requires rechecking formatting before final use |
Microsoft OneNote for OCR
Microsoft OneNote might not be the first tool that comes to mind for OCR, but it’s surprisingly powerful and incredibly easy to use—especially if you’re already working with Microsoft Office. Here’s a detailed list explaining how to use it and what to expect at each step:
- Install Microsoft OneNote if it’s not already on your device. It’s available for free on Windows, Mac, and mobile platforms.
- Open a new or existing notebook and create a fresh page where you’ll be working with your scanned image.
- Insert the scanned image directly into the OneNote page. You can do this by dragging and dropping, copying and pasting, or using the “Insert” tab to select an image file from your device.
- Once the image is placed on the page, right-click on it and choose the option “Copy Text from Picture.” This is where the OCR process kicks in.
- Wait a few moments while OneNote analyzes the image and extracts the text from it. The time it takes depends on the quality and size of the image.
- Paste the copied text into the same page or any other document. You can now edit, format, and reorganize it as needed.
- OneNote works well with printed text, and it even has a decent success rate with handwriting, especially if the writing is neat and clearly scanned.
- It supports multiple languages, making it a good fit for multilingual documents and users who work in global environments.
- Unlike some online OCR tools, OneNote doesn’t require internet access once installed—so you can use it offline, which is great for privacy.
- It also integrates seamlessly with other Microsoft tools like Word and Outlook, so you can instantly move your extracted text where it’s needed.
- You can organize your OCR tasks across different notebooks, sections, and pages, which is perfect for managing large projects or collections of scanned content.
- If you’re using the mobile version of OneNote, it syncs automatically with your Microsoft account, making your OCR documents available across devices.
- OneNote retains the original image along with the extracted text, so you always have a reference to double-check for accuracy or formatting issues.
- This feature is completely free to use—no subscriptions, no hidden costs, and no need to sign up for additional OCR tools.